By the end of class students will have a clear understanding of which photos work well for the tilt shift effect as evidenced by finding three examples of online of photos that do NOT have the tilt shift effect applied to it, but would work well for the effec

By the end of class students will have written a paragraph on one of the famous photographers below. Be sure to include a short bio about them, a description of the kind of photography they were know for as well as description of what set them apart as a photographer. Also include a few examples of their work. No plagiarism. All work must be original. Use complete sentences and proper grammar.
Larry Burrows (1926-1971 ) was born in London and dropped out of school for job at Life Magazine where he began printing pictures. he died when a helicopter was shot down during the war in Laos. he was knows for taking pictures of the Vietnamese war. h took picture of combat and the soldiers who nationalistically fought for their countries. Let's do some more practice with the tilt shift effect, this time with the photo below. Be sure to make the in focus portion somewhere in the middle or lower third so that it looks correct. Remember it should be blurry below and above the in focus portion. Use the same tutorial as last time as a reference. 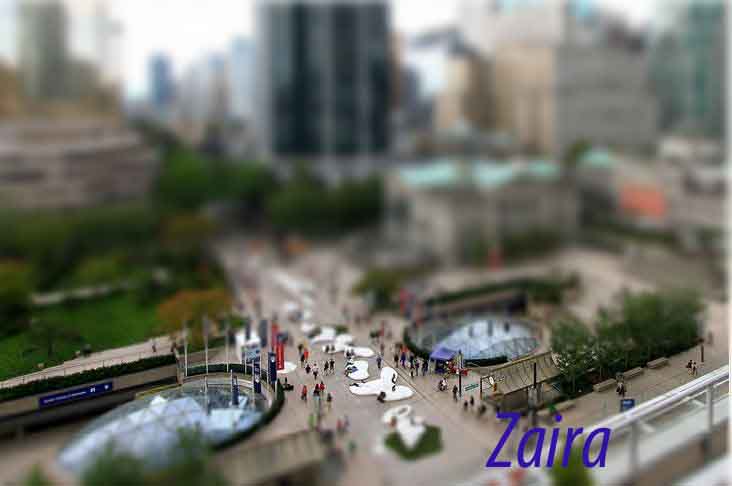
By the end of the class students will be able to create a tilt shift effect with a normal photograph as evidenced by simulating a miniature model from the photo below. (Include your name on your final image. 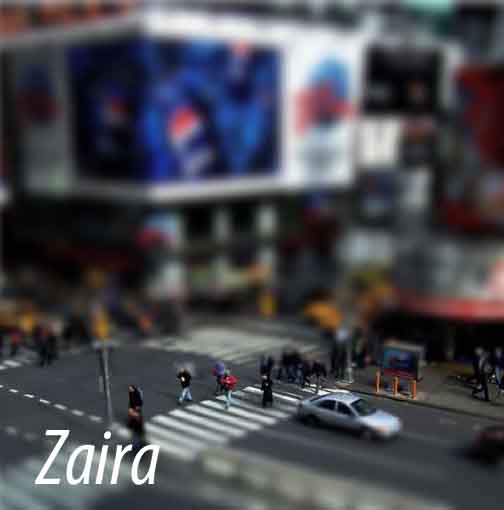 By the end of class students will be familiar several varieties of lenses as evidenced by finding definitions of the following terms:
By the end of class students will be able to stitch 5 photos together into a panoramic image as evidenced by demonstrating this using the 5 images below. (Please include a screenshot of your project and type your name into the final image you create.) 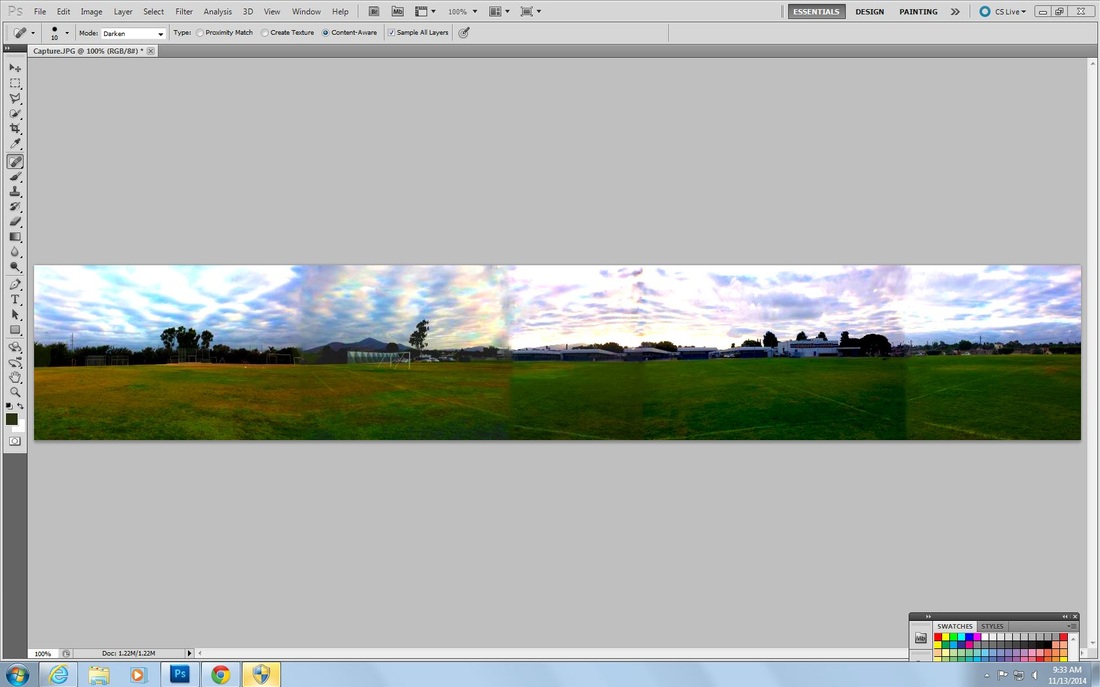
By the end of class students will be able to crop multiple photos together as evidenced by cropping 5 of their own photos (landscape orientation) together. (Also include a screenshot of your Photoshop project.) 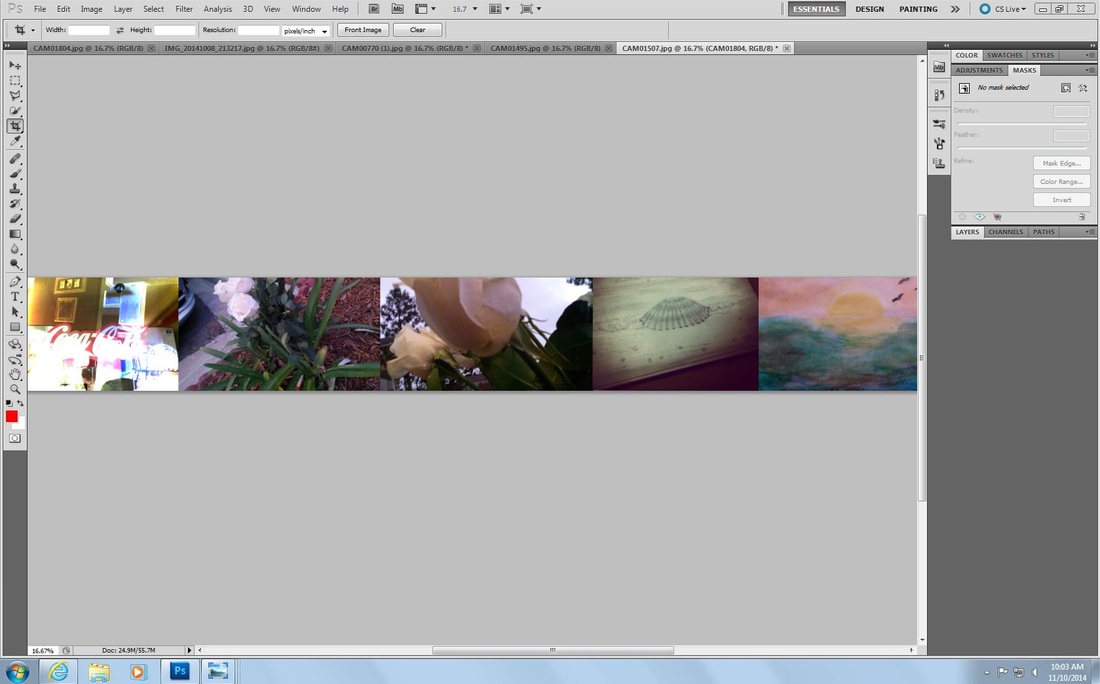
By the end of class students will be familiar with Shutter Priority Mode as evidenced by describing the difference between this and Manual Mode and giving two examples of when you would want to use Shutter Priority Mode.
In manual mode the individual taking the picture has the biggest photographic responsibility because she/he has to adjust the shutter speed, aperture and the ISO. however, if a photographer sets the camera to shutter priority mode, the camera changes the iso as you change the shutter speed to allow the image to maintain the desired exposure. Using this mode (shutter priority mode) is best adequate when working under conditions where you may not be able to constantly change the settings. this facilitates your job as a photographer for situations like B. TAKING A PICTURE OF SOMETHING FALLING GOUT OF THE SKY AND NOT HANGING ENOUGH TIME TO ADJUST THE STETTING WHILE TAKING THE SAME EXPOSURE B. TAKING AN IMAGE WHILE RUINING | AuthorWrite something about yourself. No need to be fancy, just an overview. ArchivesCategories |


 RSS Feed