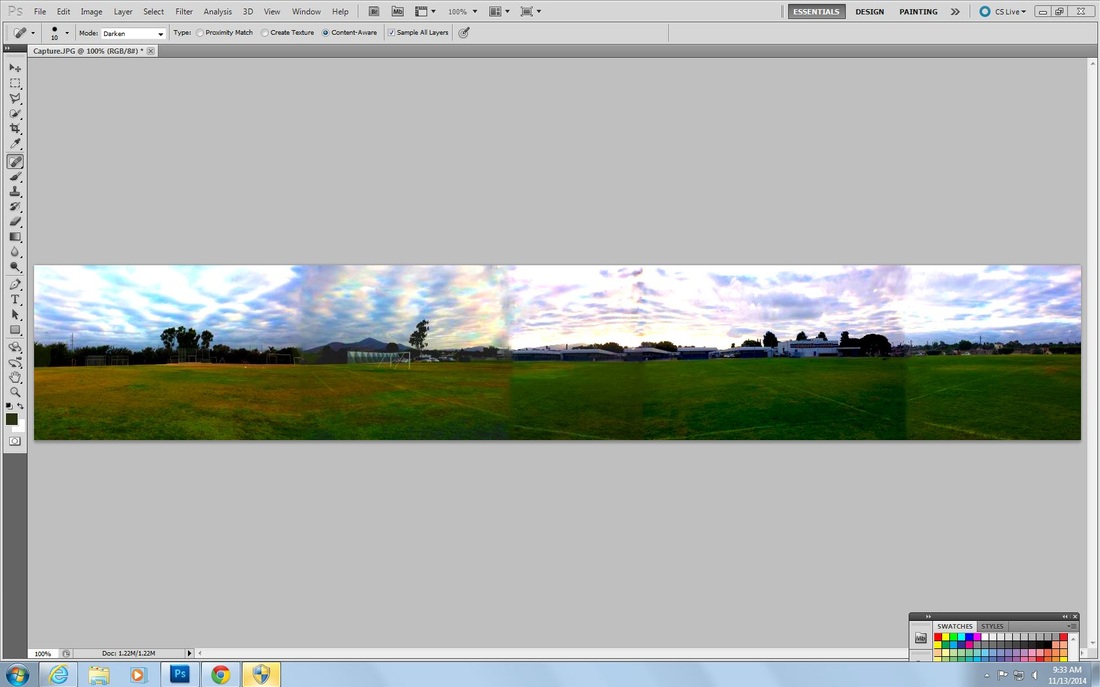
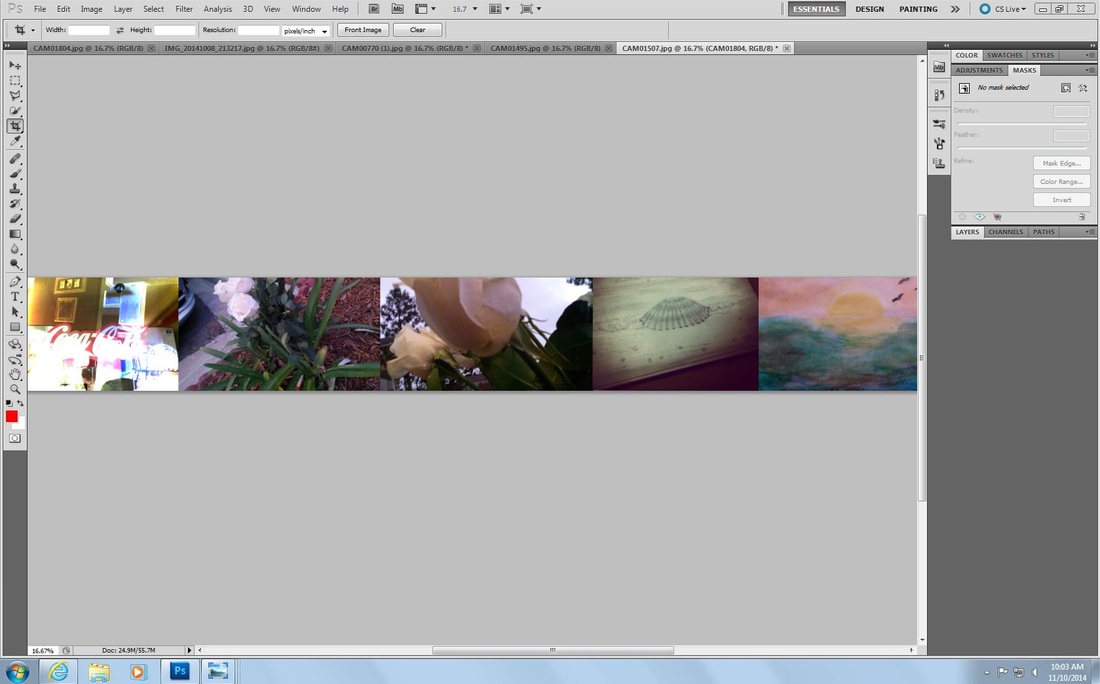
By the end of class students will be able to stitch 5 photos together into a panoramic image as evidenced by demonstrating this using the 5 images below. (Please include a screenshot of your project and type your name into the final image you create.)
By the end of class students will be able to crop multiple photos together as evidenced by cropping 5 of their own photos (landscape orientation) together. (Also include a screenshot of your Photoshop project.)
By the end of class students will be familiar with Shutter Priority Mode as evidenced by describing the difference between this and Manual Mode and giving two examples of when you would want to use Shutter Priority Mode.
In manual mode the individual taking the picture has the biggest photographic responsibility because she/he has to adjust the shutter speed, aperture and the ISO. however, if a photographer sets the camera to shutter priority mode, the camera changes the iso as you change the shutter speed to allow the image to maintain the desired exposure. Using this mode (shutter priority mode) is best adequate when working under conditions where you may not be able to constantly change the settings. this facilitates your job as a photographer for situations like B. TAKING A PICTURE OF SOMETHING FALLING GOUT OF THE SKY AND NOT HANGING ENOUGH TIME TO ADJUST THE STETTING WHILE TAKING THE SAME EXPOSURE B. TAKING AN IMAGE WHILE RUINING |